This simple Registry tweak will let you re-enable the old classic
Windows 8.1 / 7 type Clock and Calendar in Windows 10.
Open your Registry
Editor, press Win + R, type regedit and hit Enter. (Before editing the Registry, don’t forget to create a backup of your Registry files.)
After opening Registry Editor, navigate to the following key:
Click on the Immersiveshell folder on your left hand side and create a new DWORD (32-bit) Value in your right hand side.
To create a new DWORD Value, right-click on the empty space of your right hand side, select new and click on DWORD (32-bit) Value.
Name it UseWin32TrayClockExperience. By default, the value would be 0. You have to set the value to 1. To change the value, double-click on UseWin32TrayClockExperience and enter 1 before saving your change.
Right after setting up the value to 1, your new Windows 10 Clock and
Calendar will be changed to Windows 7 style Clock and Calendar.
If you need to install or reinstall Windows 10, you can use the tools on this page to create your own installation media using either a USB
flash drive or a DVD.
Before you begin
Make sure you have:
An Internet connection (Internet service provider fees may apply).
Sufficient data storage available on a computer, USB or external drive for the download.
A
blank USB or DVD (and DVD burner) with at least 4 GB of space if you
want to create media. We recommend using a blank USB or blank DVD,
because any content on it will be deleted.
If
you are installing the operating system for the first time, you will
need your Windows product key (xxxxx-xxxxx-xxxxx-xxxxx-xxxxx). For more
information about product keys and when they are required, visit the FAQ page.
Built-in media creation options for USBs and DVDs.
Optional conversion to ISO file format.
*** *** *** *** *** *** *** *** ***
I downloaded the 64-bit version for an in-place upgrade of my Windows 8.1 Desktop PC. All together (download+install) took about 4½ hours. The PC restarts several times during the upgrade although in between the restarts you can carry on using the computer normally while the upgrade is in process. Fairly straightforward. Afterwards most Windows 8.1 programs and applications seemed to be working as normal as before, on Windows 10. The new re-revised Start Menu does takes some getting used to though!
***
NOTE:
If you have Windows 7 or 8.1, you may be expecting to see the Get Windows 10 app, a small Windows icon in your system tray, that gives you the opportunity to get a free copy of Windows 10.
After installing GIMP 2.8, or upgrading from an earlier version of the software, and especially if you've then also installed extensions or plug-ins, such as the gimp-dds 3.0.0 plug-in ̶̶ you may find yourself in the situation whereby everytime you go to load GIMP it gets to the 'loading fonts' routine (right after 'looking for data files') and then hangs up and won't continue any further, every time!
I've learned that some particular fonts are constantly in use or 'locked' by the Adobe Acrobat Update Service.
Try stopping or 'killing' the Adobe Acrobat process (via Administrative Tools Services; or simply using Task Manager - right-click on the Adobe Acrobat Update Service, and select 'End task').
This should release any locked fonts and allow the GIMP loading-up process to finally succeed with loading the fonts database.
Note: Not necessary to stop the Adobe Acrobat service everytime you run GIMP, only just for the intial post-install run, when (or if) it hangs. Apparently, once Gimp's internal fonts-database has been created, it seems to run OK thereafter, even when the Adobe Acrobat service is up and running in the background.
As I am partial to Firefox and got fed up always having to switch to Internet Explorer just to post and to see Facebook emoticons. I decided to investigate, and found the answer on the Facebook help community.
Some users of Firefox on Windows 8.1 have reported having to downgrade to version 29 to get Facebook emoticons back up and visible.
Here's an easier FIX, which works for me: Go to Firefox options, select the Advanced tab and uncheck (remove the check-mark from) "Use hardware acceleration". Don't forget to restart Firefox.
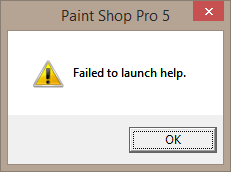
After you install Windows 8.1 (or purchase a new computer with 8.1 and then re-install legacy applications)
you may find pressing F1 for Help no longers works in a legacy application, and you get a pop-up dialog saying 'Failed to launch Help',
something like this:
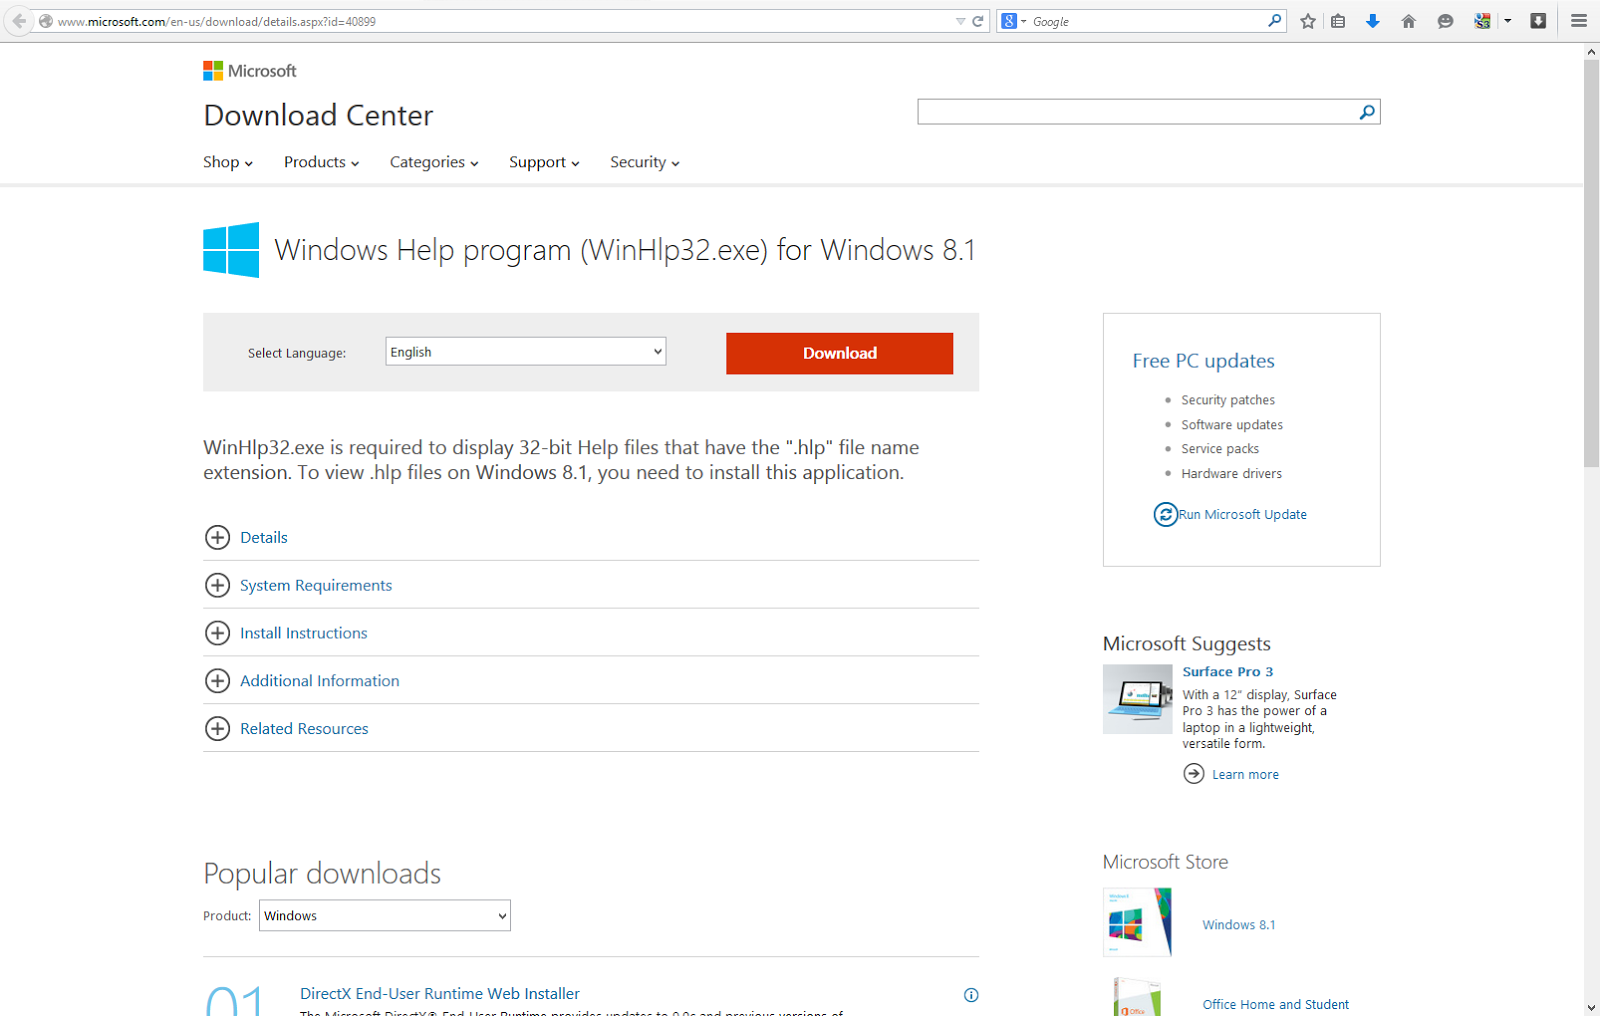
Cause: The Help for [some legacy] programs was created in Windows Help format, which depends on a feature that isn't included in Windows 8.1 or Windows RT 8.1.
FIX: WinHlp32.exe is required to display 32-bit Help files that have the ".hlp" file name extension. To view .hlp files on Windows 8.1, you need to install 'Windows Help program (WinHlp32.exe) for Windows 8.1 .' availbale from Microsoft's web site.
Trying to 'network' two computers (Laptop & PC) on 'Windows 8.1 with
Bing' on a wireless Network, and you get a cannot access error message dialog that looks something like this:
The cause for me in this instance was because the PCs weren't in the same workgroup.
FIX: Join or create a workgroup as follows:
1. Tap or click to open System.
2. Under Computer name, domain, and workgroup settings, tap or click 'Change settings'. If Administrator permission is required, you might be asked for an admin password or to confirm your choice.
3. In the System Properties dialog box, tap or click the Computer Name tab, and then tap or click 'Change'.
4. In the Computer Name/Domain Changes dialog box, under Member of, tap or click Workgroup, and then do one of the following:
• To join an existing workgroup, enter the name of the workgroup that you want to join, and then tap or click OK.
• To create a new workgroup, enter the name of the workgroup that you want to create, and then tap or click OK.
***
Other possible causes:
# You don't have access permissions for the file or folder you're trying to get to.
FIX: Contact the owner of the file or folder to ask for permission.
If you're on a corporate network, you'll need to contact your network administrator
***
# Password-protected sharing is turned on.
FIX: Password-protected sharing is on by default for PCs in workgroups. When password-protected sharing is turned on, people using other PCs on your network can't get to your shared folders or printers unless they have a user account on your PC. There are two ways to turn on file or printer sharing:
Create identical user accounts on all PCs in the workgroup (recommended). For more info, see Create a user account.
Turn off password-protected sharing. To turn off password-protected sharing, follow these steps:
Tap or click to open Advanced sharing settings.
Click the chevron to expand the current network profile.
Under Password protected sharing, click Turn off password protected sharing, and then click Save changes. You might be asked for an admin password or to confirm your choice.
Note:
Password-protected sharing is unavailable on PCs that are on a domain.
You can only join a domain if your PC is running Windows 8.1 Pro or Windows 8.1 Enterprise.
***
# The Find devices and content slider is turned off.
FIX: To find PCs, devices, and content on your network...
Swipe in from the right edge of the screen, tap Settings, and then tap Change PC settings. (If you're using a mouse, point to the lower-right corner of the screen, move the mouse pointer up, click Settings, and then click Change PC settings.)
Tap or click Network, and then turn on the Find devices and content slider.


